Pandemic Craft To Try: Frame Glass Painting
February 10, 2021

As the pandemic rages on and social distancing stays in place, the teens of Tik Tok discovered a fun new art trend using items that cost little money. Most of the supplies can be found at the local Dollar Tree.
As the curious creature that I am, I decided to give it a try and show off how my own project came out. Here’s a step-by-step guide as to how I did it.
Maybe when you finish, you can even submit your paintings to the Creative Corner! Email your submissions to 22ricked@apps.whschools.org or 23lugon@apps.whschools.org if you want your glass painting to be featured on the site.
Step-By-Step Guide for Frame-Glass Painting
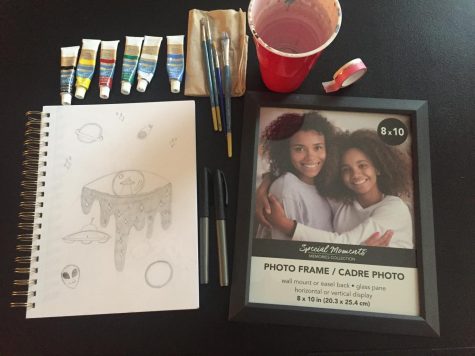
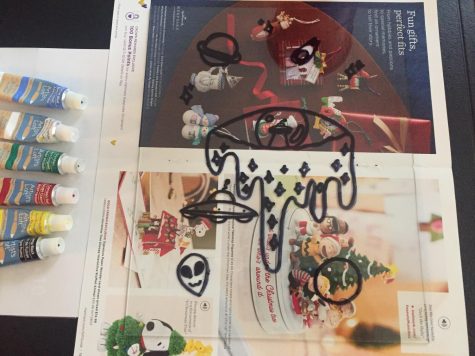
To start, you need a sketchbook (or a single drawing; as long as you have something to trace), a sharpie (or other black marker), a picture frame (make sure the dimensions of the glass fit your picture), paint (I used acrylic, but Dollar Tree should have some nice paints), paint brushes, and tape (optional, but recommended for holding your picture in place as you trace).
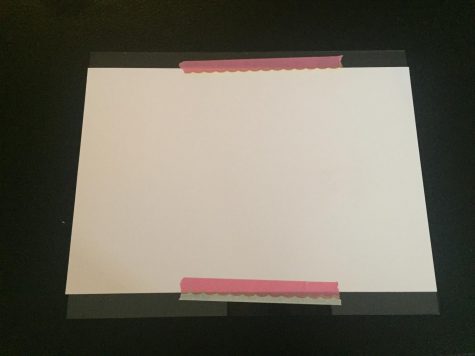
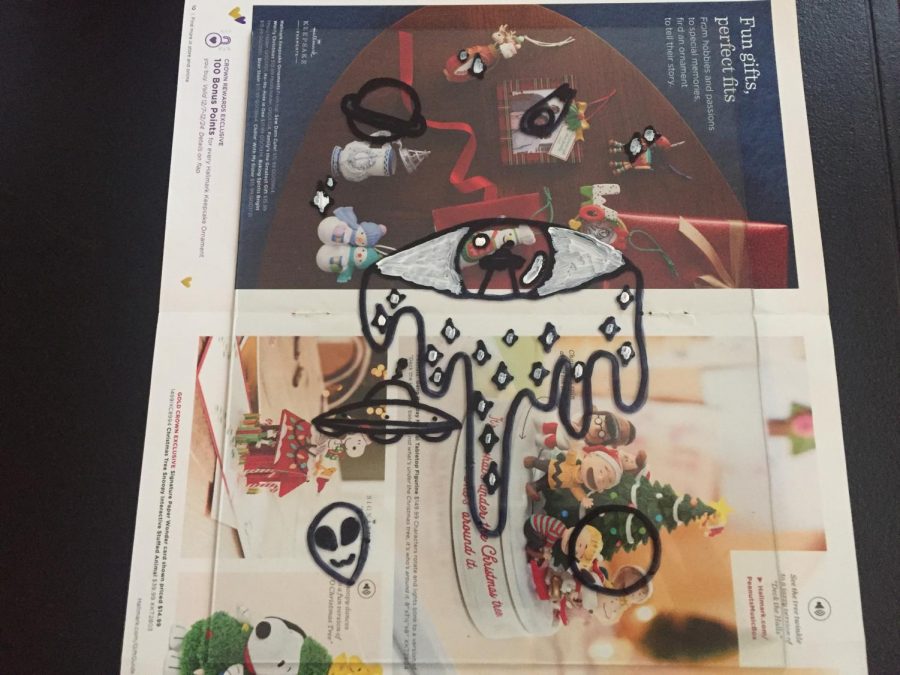
1) First, you want to remove the glass from your frame and tape it to the picture you plan on tracing so it doesn’t slide. I’m using washi tape so it’s not a hassle to remove. Masking tape is another good option. Tape the paper to the glass so that the photo isn’t being obstructed, but the paper still stays in place the entire time you’re tracing.
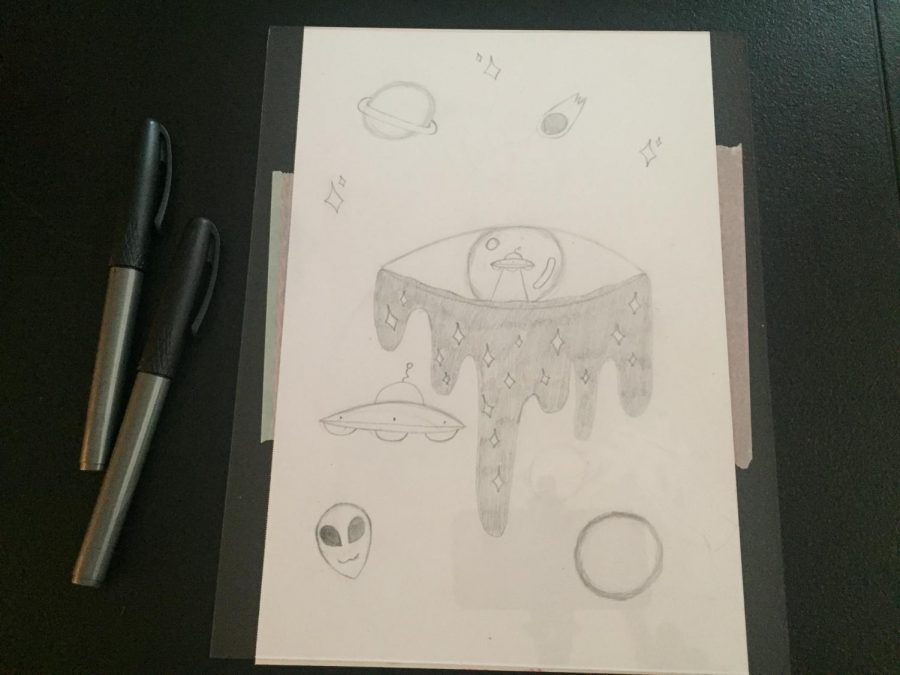
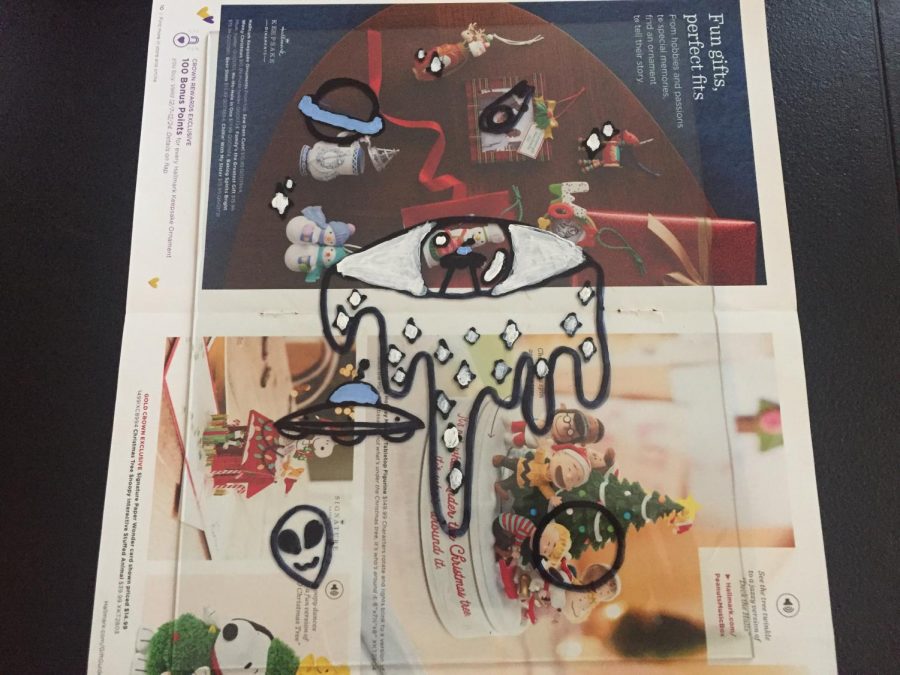
2) Once your drawing is secure to the glass, begin tracing the picture onto it. Please keep in mind that the side you’re tracing and painting on will be the back! This will cause the final image to be reversed.
3) Once the tracing is complete, you may remove the tape and begin the painting. Make sure to paint on the same side that you traced on (for the best of the best results).
It is recommended to start in light shades and add layer by layer of paint until you get to the dark shades. I thought of it more so as front to back.
The shines and stand alone details are going to be in front while the things that have shine on them and slightly bigger things go behind those.
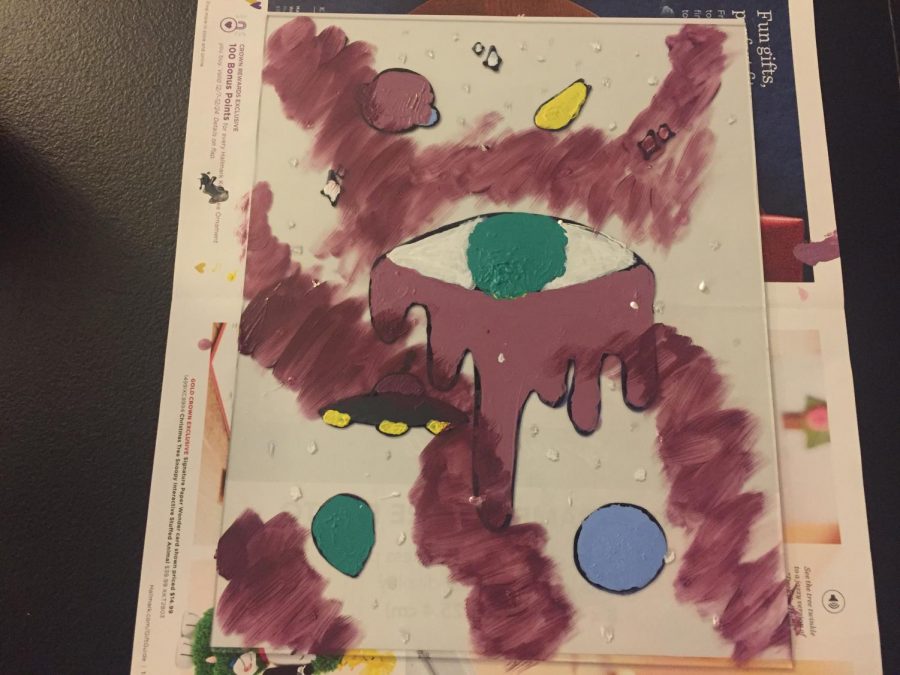
Then, finish off by painting the background.
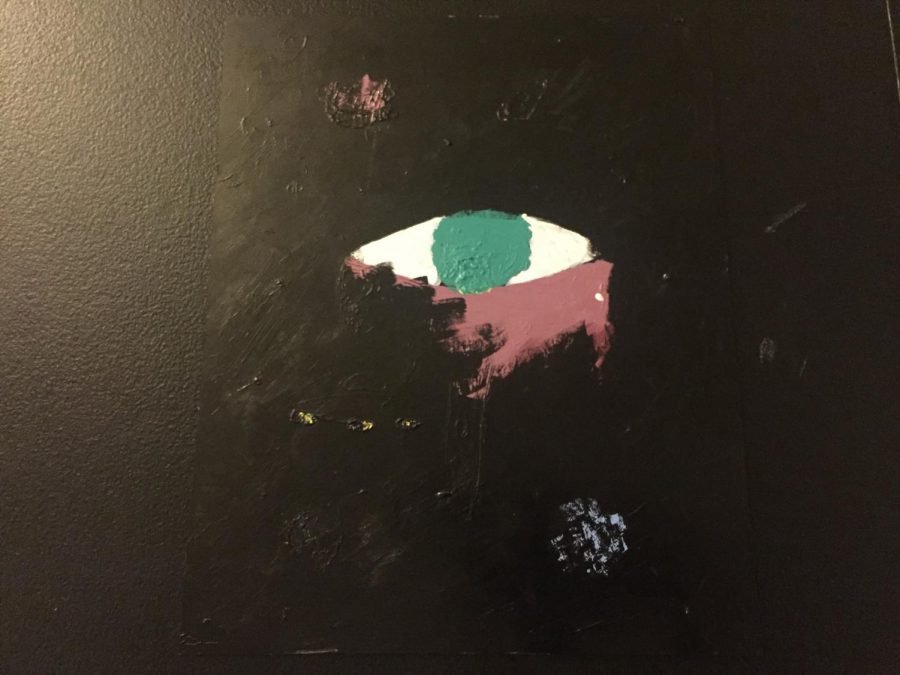
4) Once the painting is complete, let it dry. And you’re done! Turn it around to see your final product.
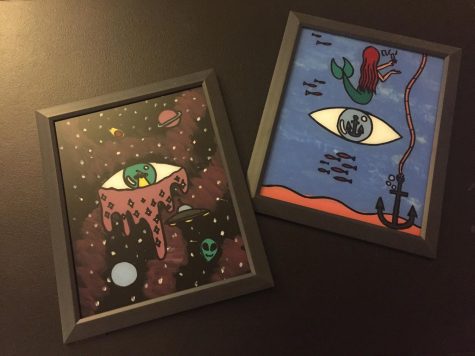
How you present your glass painting is up to you. I’ve decided to put mine back in the frame, but lots of other people keep them out. You can wash it and start over or you can put it on your desk or wall. You have a lot of creative liberties when it comes to this craft.